News and Projects

What we're building.

A look at the renovations, upgrades, and projects underway across the Galavier Group portfolio — the work behind well-managed properties.

24 updates

Latest updates

Security Cameras installation for West Babylon Capital Improvement 12
September 18, 2026 844 12Th Street Holdings LLC

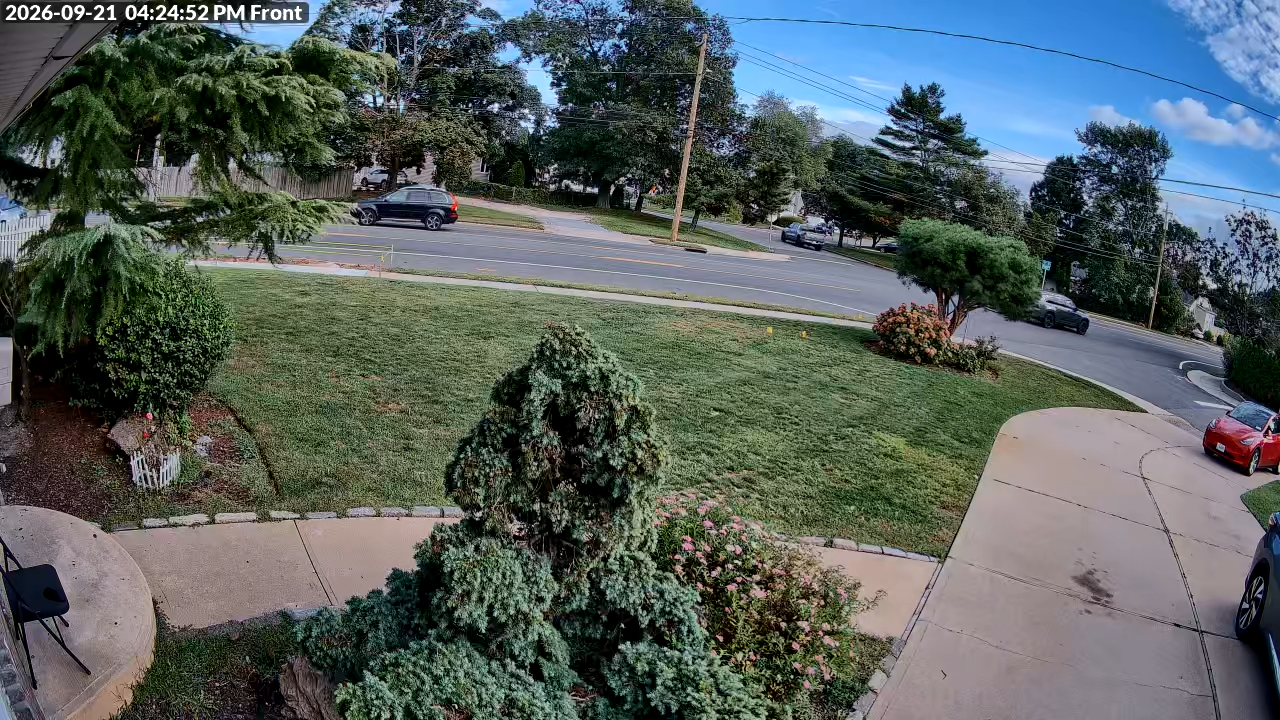
Security Cameras installation for West Babylon

★★★★★

The service provider will complete the approved exterior and common-area improvement scope while maintaining a safe worksite and complying with all site access, waste disposal, and municipal requirements. Scope of Work: Camera Installation: Install two (2) cameras covering the front entrance and patio entrance of the property. Conduit & Cabling: Utilize blue flexible non-metallic tubing (smurf tube) for all cable runs to accommodate future network upgrades, cable replacements, or service expansions. Equipment Mounting: Install a wall-mounted equipment rack to house the network router and provide dedicated space for future network hardware and service appliances.

Read more
Appliance Repair Maintenance
August 17, 2026 621 Coster

Appliance Repair

★★★★★

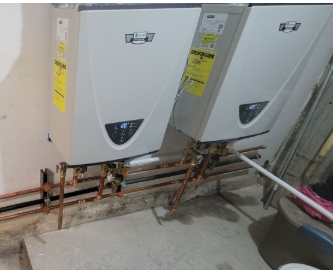
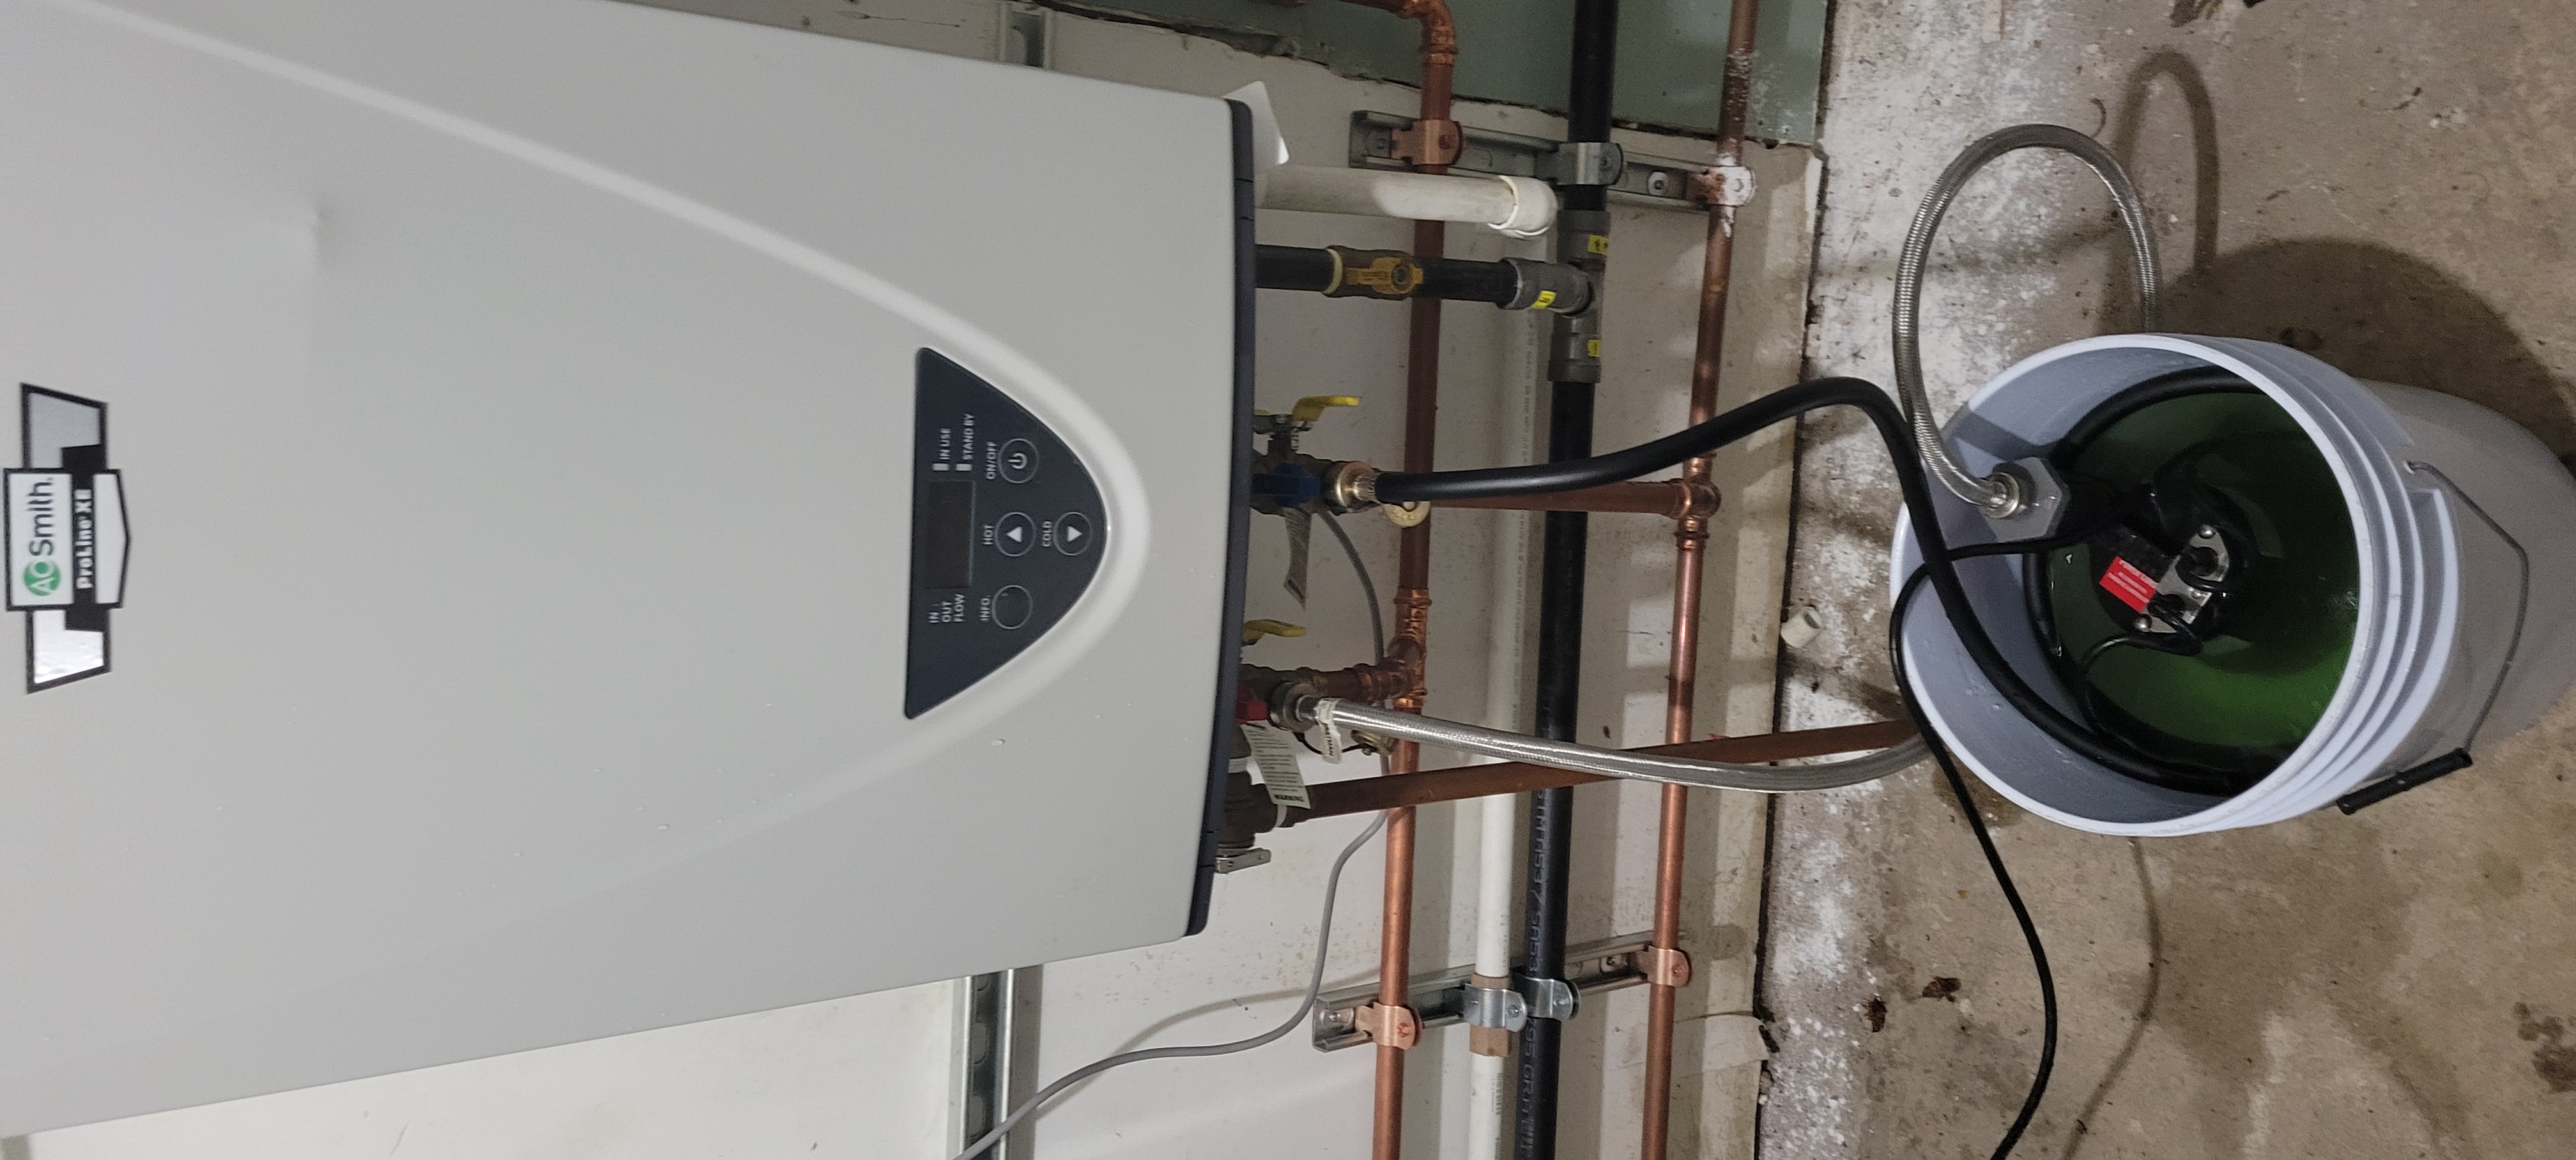
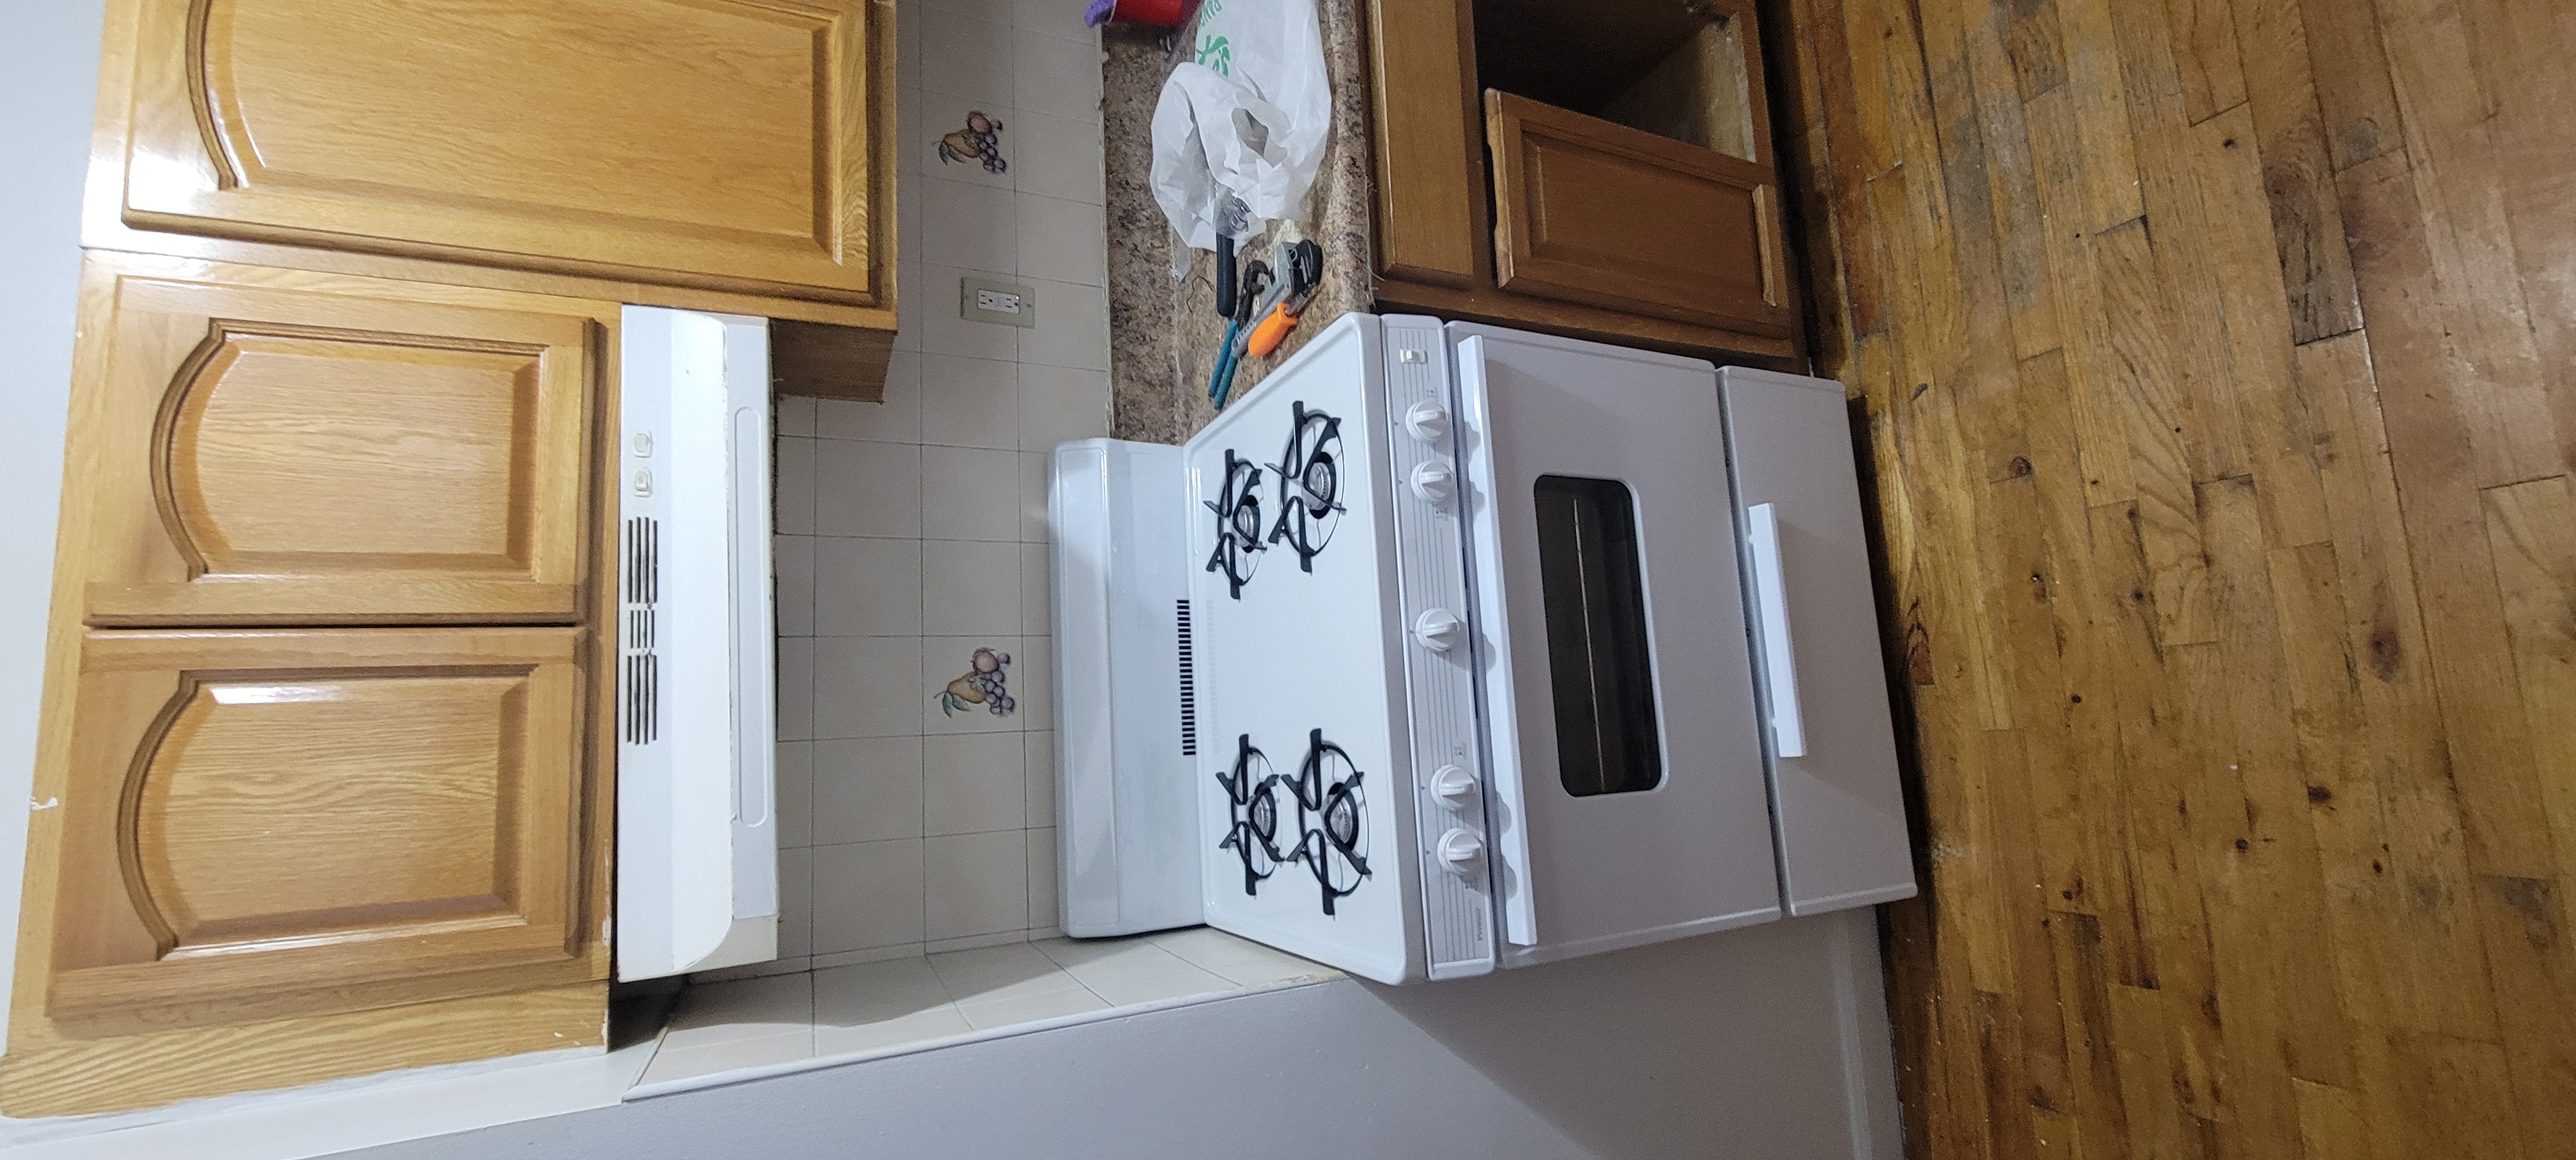
Water heater Maintenance, should be made at least every 3 to 4 years, as the water on the Bronx area is consider to be very soft water. Performance of water heater is about 9gpm at 120 Degrees. Soon is recommended to add a 50 gallons buffer tank to help with the constant water service, as some of the apartments have double bathroom with bathtub. Bathtub have spout, were the water is unrestricted of the gallons per minute. Adding a 50 gallons buffer tank to the system will greatly help the system improvement of hot water system.

Read more
Pointing & outside work Renovation 9
July 2, 2026 844 12Th Street Holdings LLC

Pointing & outside work

★★★★★

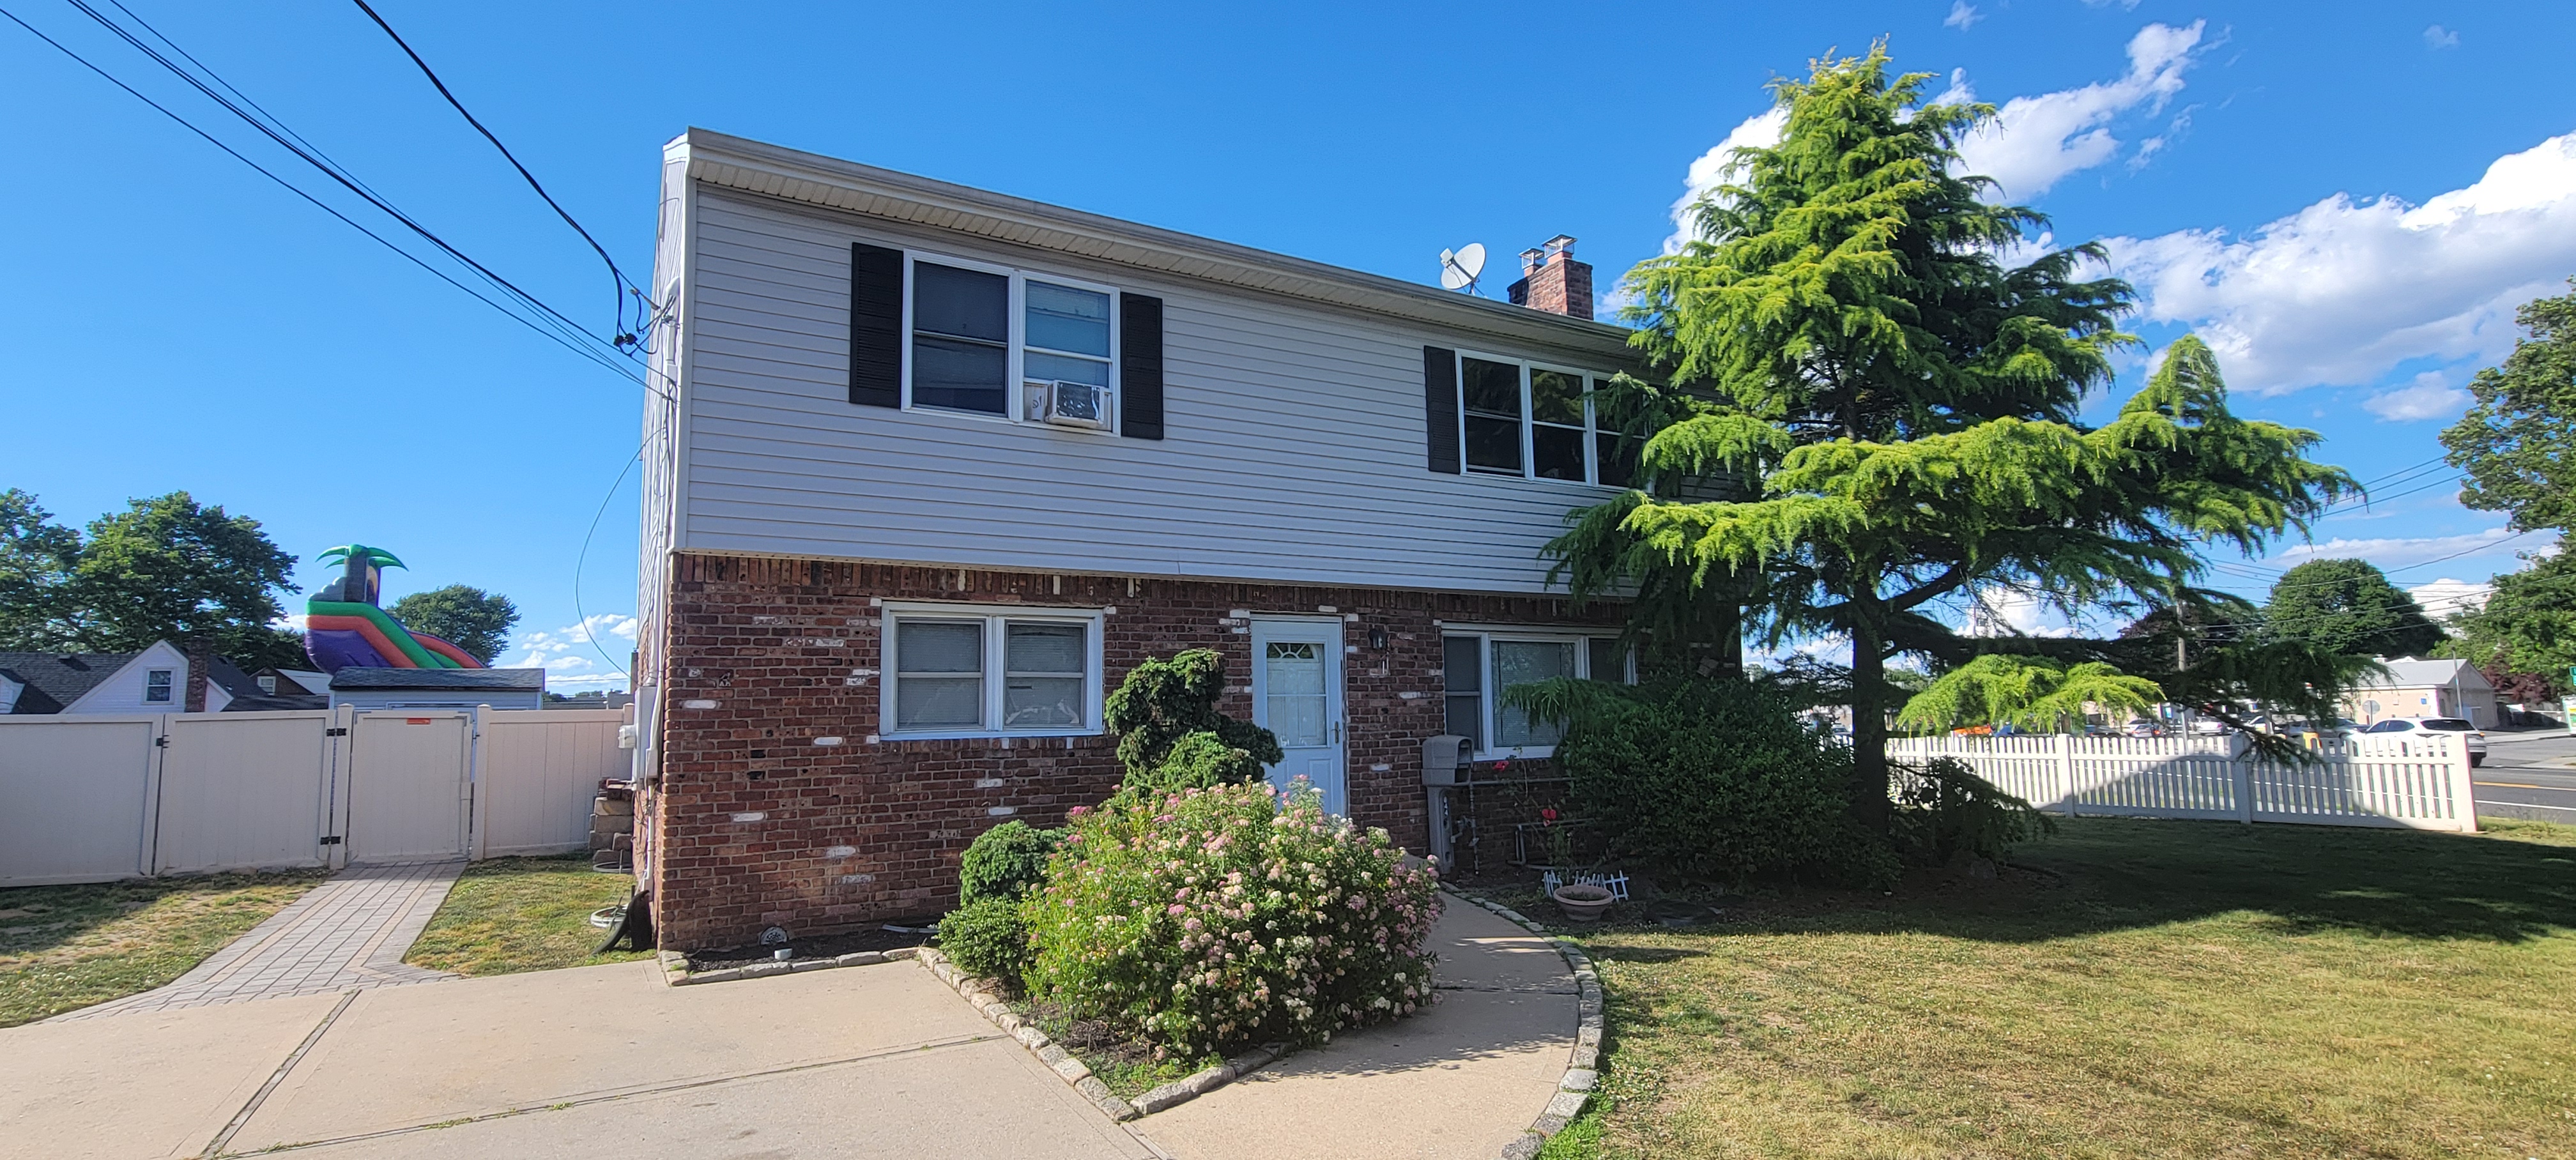
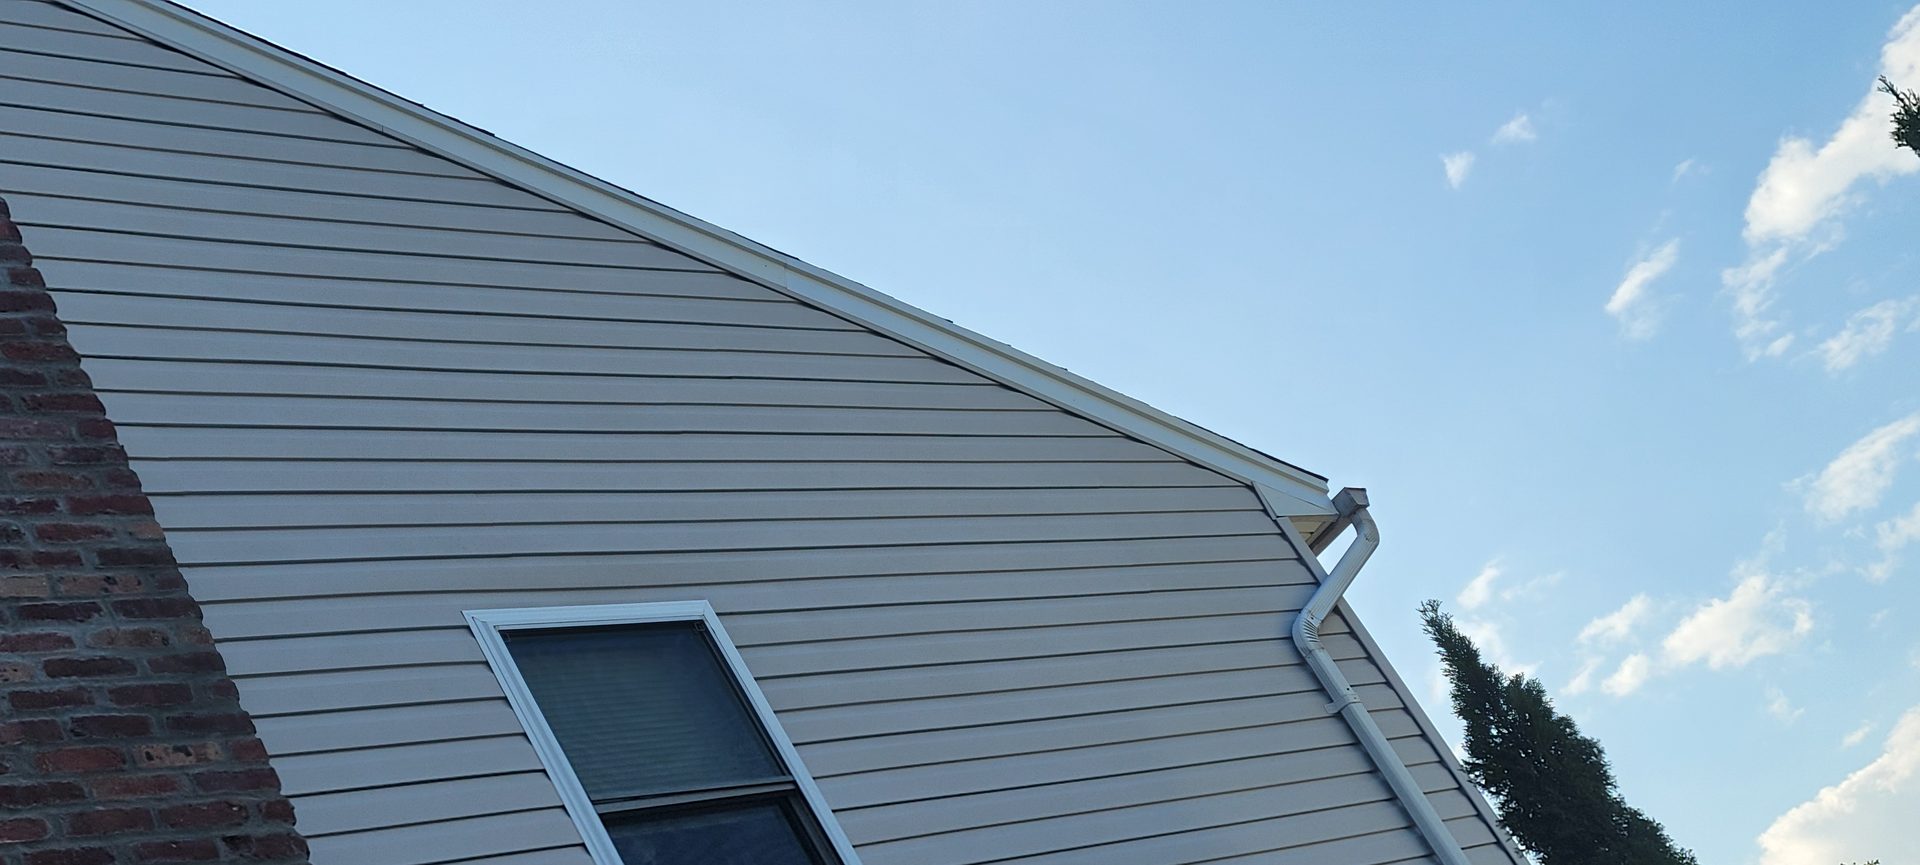
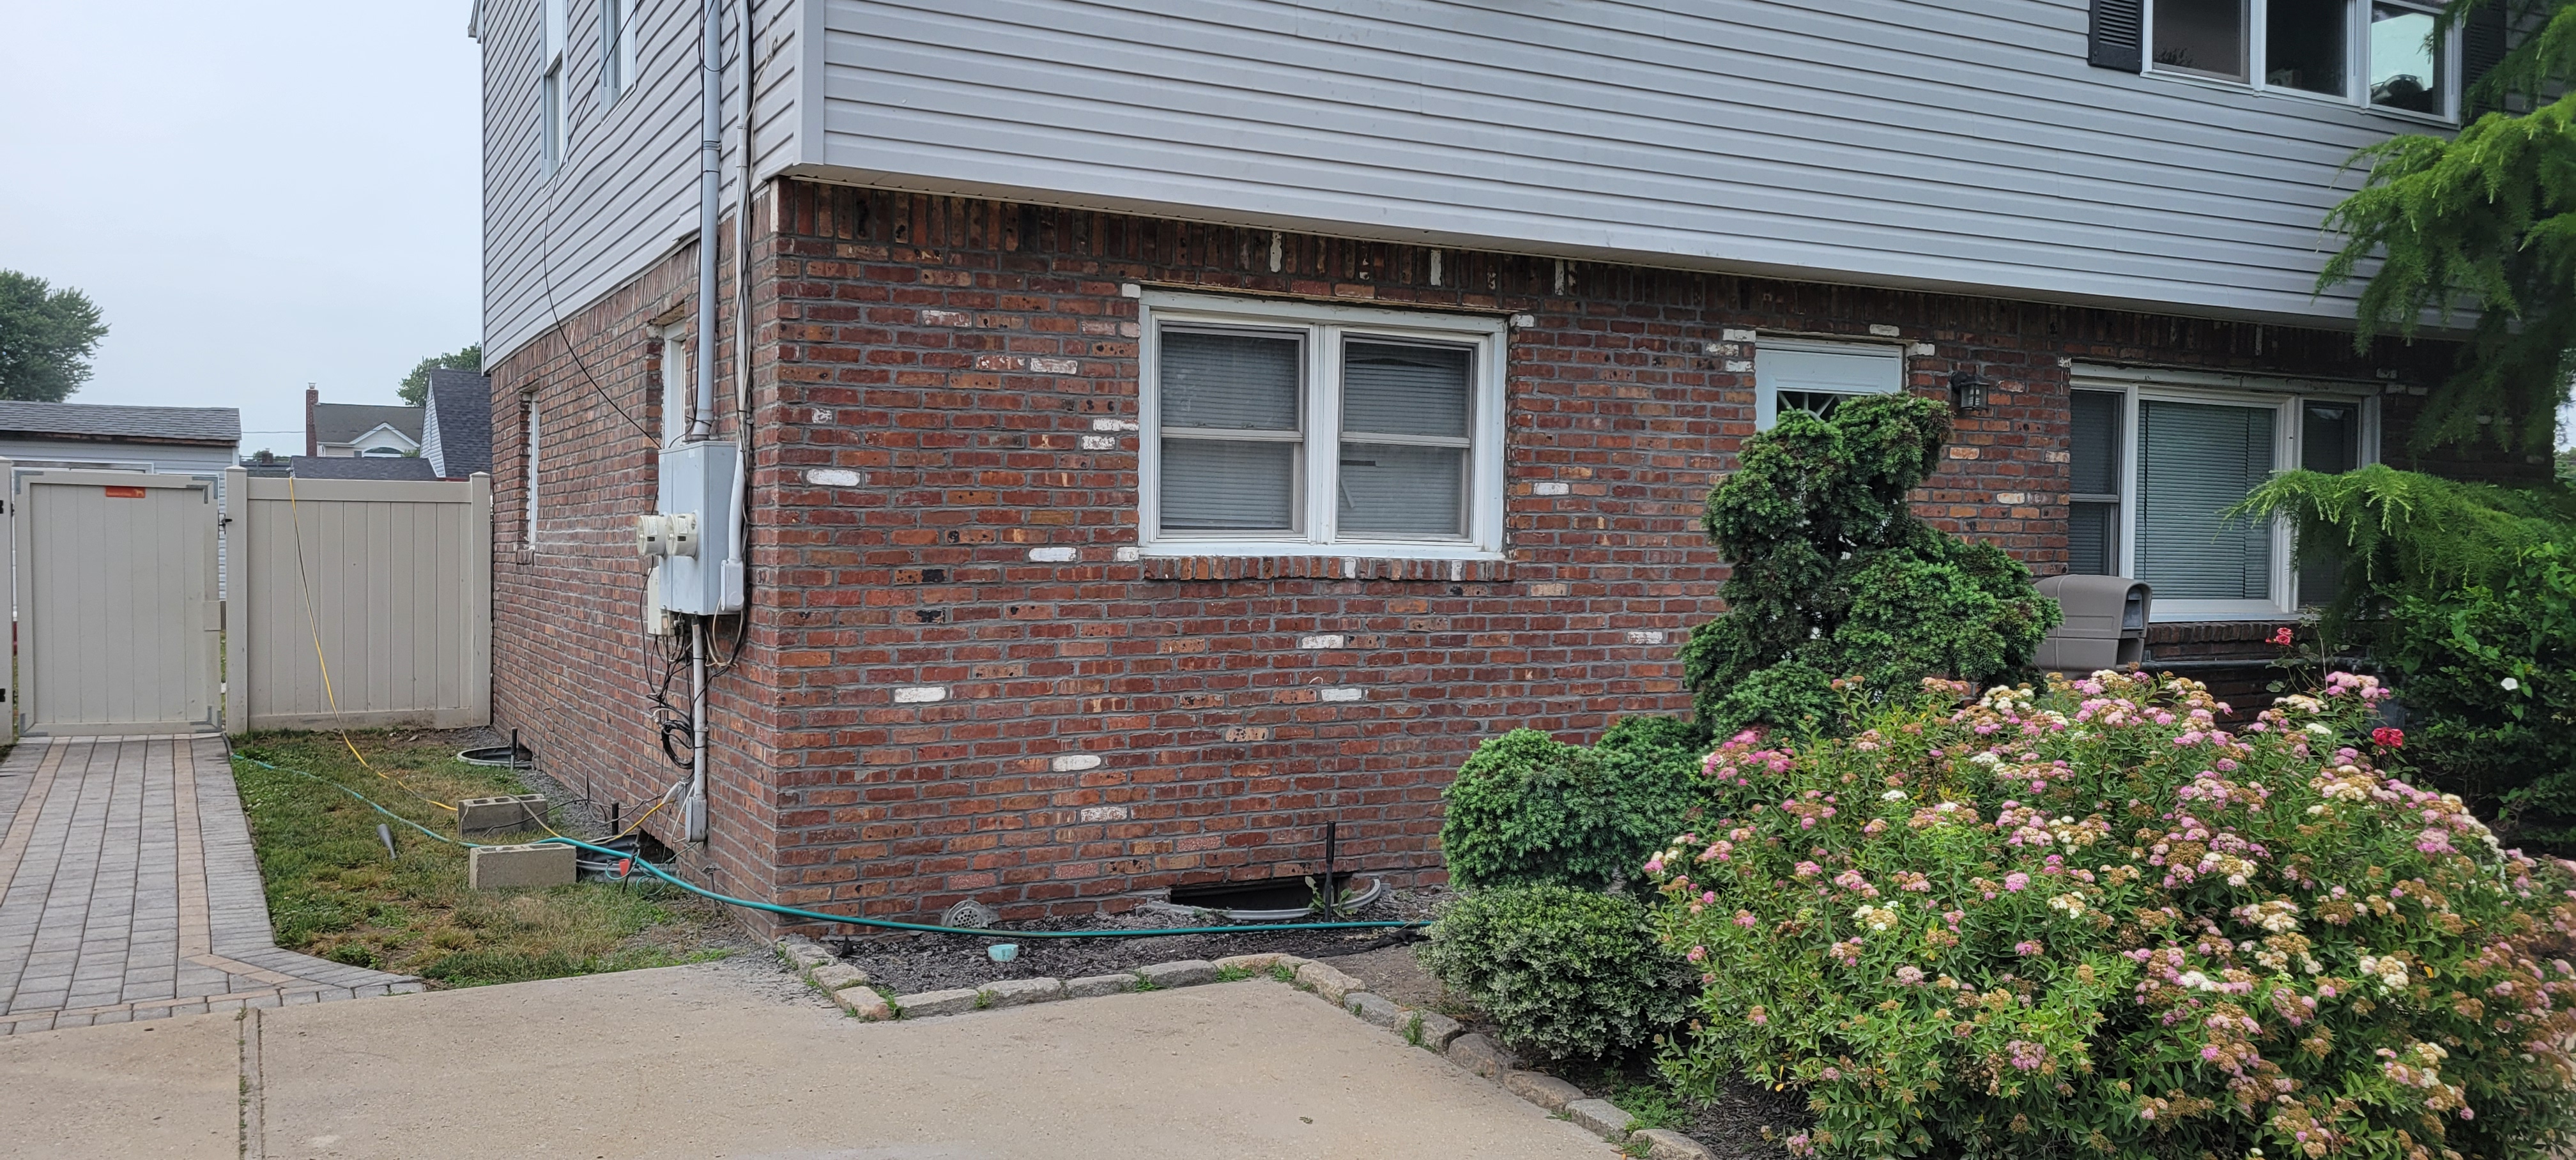
SCOPE OF WORK Service Provider will complete the approved exterior and common-area improvement scope, maintain a safe worksite, and comply with site access, disposal, and municipal requirements. 1. Brick Pointing – First Level Pointing work on the brick for the first level of the entire property, including the chimney located on the left side of the property. Windows on the first level will be sealed. Cost (labor and materials): $6,500.00 2. Cellar Access Stairs – Drainage Install a drain at the bottom of the cellar access stairs (on front entrance of the door of cellar), sized 2 feet long x 3 feet deep. Cost (labor and materials): $500.00 3. Cellar Entrance Stairs – Wall Construction Add three courses of block (estimated 48 blocks) to raise the cellar entrance stairwell walls, finished with cement. Some paving blocks adjacent to the stairs will be removed to protect the stairwell wall during construction. Cost (labor and materials): $1,000.00 4. Rear Paving – Cleaning and Repair Wash rear paving, remove growing vegetation, and fill joint lines with appropriate material. Cost (labor and materials): $500.00 Total: $8,500.00

Read more
Patio & Fence work Renovation
April 14, 2025 621 Coster

Patio & Fence work

★★★★★

Preparation Before Starting Before beginning the installation, it is crucial to prepare adequately: Obtain permits: Check local regulations to ensure compliance and acquire any necessary permits. Mark boundaries: Determine the fence line and ensure it aligns with property boundaries by consulting a surveyor if needed. Locate utilities: Contact the relevant utility companies to mark underground lines to avoid damaging them during post digging. Gather tools and materials: Ensure all required tools (e.g., post-hole digger, level, drill) and materials (vinyl panels, posts, concrete mix) are on-site. Measure and plan: Accurately measure the area and calculate the number of panels and posts needed for the fence. Day 1: Setting the Foundation The first day focuses on preparation and the proper installation of the fence posts, which are crucial for fence stability and alignment. Step 1: Layout and Marking Begin by marking the fence line with stakes and strings. Clearly indicate where each post will be placed. Double-check measurements to ensure accuracy and consistent spacing between posts. Step 2: Digging Post Holes Using a post-hole digger, create holes along the marked fence line. The holes should be deep enough to accommodate the fence posts and provide stability—typically 1/3 the length of the post or 2 to 3 feet deep. Ensure the diameter of the holes allows for concrete around the posts. Step 3: Setting Posts Position the posts in the holes, ensuring they are aligned with the fence line. Use a level to make sure the posts are vertical. Mix the concrete according to the manufacturer's instructions and pour it into the holes around the posts. Let the concrete set and cure overnight to provide a solid base. Step 4: Clean-Up and Preparation Once the posts are set, tidy up the work area and prepare materials for the next day's tasks. Check all posts for alignment before ending the day. Day 2: Installing Fence Panels The second day is dedicated to attaching the vinyl panels to the posts and completing the fence installation. Step 1: Attaching Panels Begin by attaching the vinyl panels to the posts. Follow the manufacturer's instructions to secure the panels using brackets, screws, or other recommended fasteners. Ensure each panel is level and aligned correctly. Step 2: Adjustments Make necessary adjustments to ensure the panels fit snugly and the spacing remains consistent throughout the fence. Verify that the top and bottom alignments are uniform for a polished finish. Step 3: Gate Installation If the vinyl fence includes a gate, install it according to the manufacturer’s specifications. Check that the hinges and latch mechanisms function correctly and that the gate swings freely without any obstructions. Step 4: Final Inspection Inspect the entire fence for stability, alignment, and aesthetic quality. Tighten any loose screws or fasteners and make minor adjustments as needed. Ensure the fence meets safety and design standards. Step 5: Clean-Up Gather tools and leftover materials, disposing of waste responsibly. Leave the area clean and clear. Celebrate the completion of the project! Maintenance Tips A vinyl fence requires minimal maintenance but benefits from periodic care: Cleaning: Wash the fence with water and mild detergent to remove dirt and stains. Inspection: Regularly check for loose panels or posts and secure them as needed. Repair: Address any cracks or damages promptly to prevent further issues. Conclusion A two-day vinyl fence installation is achievable with proper planning, tools, and execution. By laying a solid foundation on the first day and focusing on panel installation on the second day, the result is a durable and visually appealing fence that enhances the property. Appreciate the installation process and take advantage of the benefits offered by your newly installed vinyl fence. The new fence is private and cleanly installed

Read more
623 Coster Street Back Yard Cement Capital Improvement 4
October 21, 2022 623 Coster St

623 Coster Street Back Yard Cement

★★★★★

We have come onto an agreement with a JNFL Construction company, for the back yard job of adding cement of 623 Coster St. the work for the whole back yard and drain System to be ready for those strong Rainy days. Thanks to the hard work and experience of JNFL the project is looking very good. Looking very good ended, job well done from the JFNL Construction company, in laying cement on the back yard of 623 Coster Street. They also included a extra drain with the capacity to control up to 50 gallons of rain water, collected from the yard for those heavy rain of fall and spring time. Back yard look very clean, we are know that our residents will now enjoy a cleaner back yard for those private barbecue celebrations on summer time and the time for outside fresh air enjoyment. JFNL Construction is a company base on Hempstead, New York and it can be contacted direct (516) 410-5536 for any questions. For More Information: JFNL Construction On Facebook.

Read more
Commercial Front Store Installation Capital Improvement 2
October 3, 2022 408 E 179 St. LLC

Commercial Front Store Installation

★★★★★

Install commercial Store front for the front of the first floor commercial space. Door is 30 x80 standard right hand door opening to the outside, with glass on the rest of the opening of the space. Service provider will finish and seal with silicone. Service provider will complete the approved exterior or common-area improvement scope, maintain a safe worksite, and comply with site access, disposal, and municipal requirements.

Read more